
editing
faq
filter
help
instagram
life
photo editing
tutorial
How I Edit My Instagram Photos!
Tuesday, August 19, 2014
Right, I have a feeling this post is going to be fairly popular like a couple of other advice/info posts I've done. This one is all about what apps I use to edit my photos etc, as I get asked A LOT and it starts to get a bit annoying (I probably will still get it after I've done this hahaha) But anyway, I'll write a bit about the app, and what I do to the photos by using said app. I will also give links to the apple store for you to download these apps just by clicking on the name of each one. I hope this helps you all edge away from horrible instagram filters- really not a fan of X Pro II anymore. Needless to say, I'm not insulting anyone's feed, I just think that with a few tweaks here and there, that your photos can be bought to life a bit more and that way more people will follow you! Your feed has to be visually pleasing.
-----------------------------------
First off, here is a screen shot of the folder in which my Instagram editing app's go, so you can see which ones I use! I will then expand on each one, explaining how I use them and so on.

--------------------------------------------------------------------
1. Afterlight - £0.69
This app is probably the best photo editing app I have downloaded in all the time of having instagram, it simply does everything from brightening, adding contrast, adding film grains and textures, light overlays and frames. Perfect for instagram cropping if you don't want your portrait photos to get cropped into a square. I am always reluctant to spend money, even if it is only 69p on an app when I'm not sure what it will do, so I can safely recommend you all buying it!
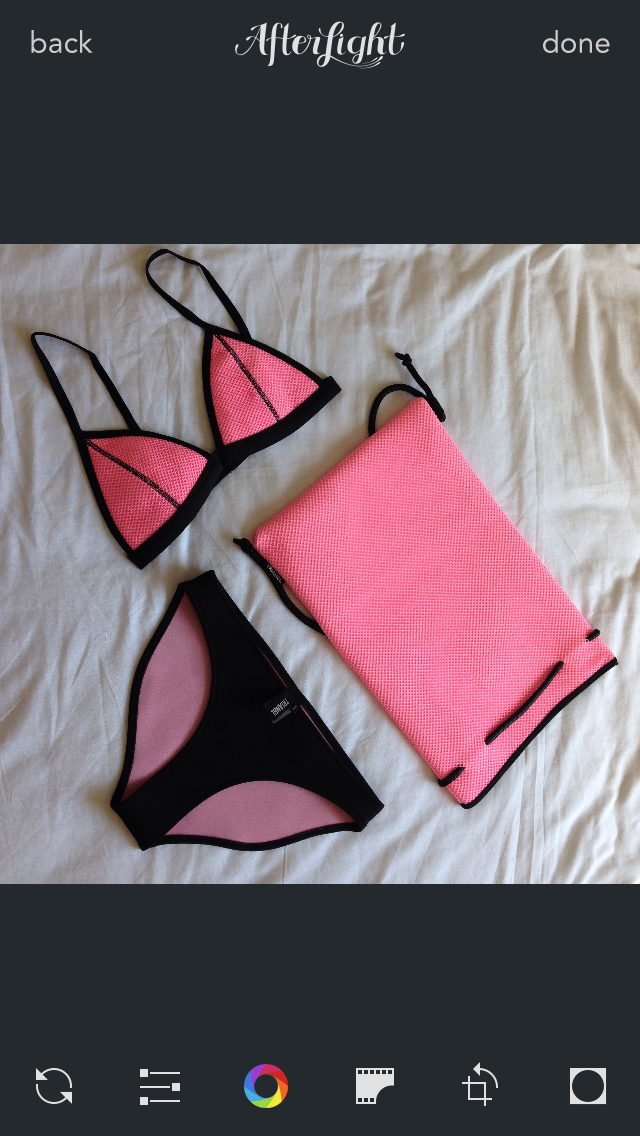
Step 1- Open the app, clikc the left icon with the logo that looks like the instagram logo and search for the image you would like to edit. Open

Step 2- Once the image is opened it will look like this with all the icons at the bottom of the screen, these are your editing tools!
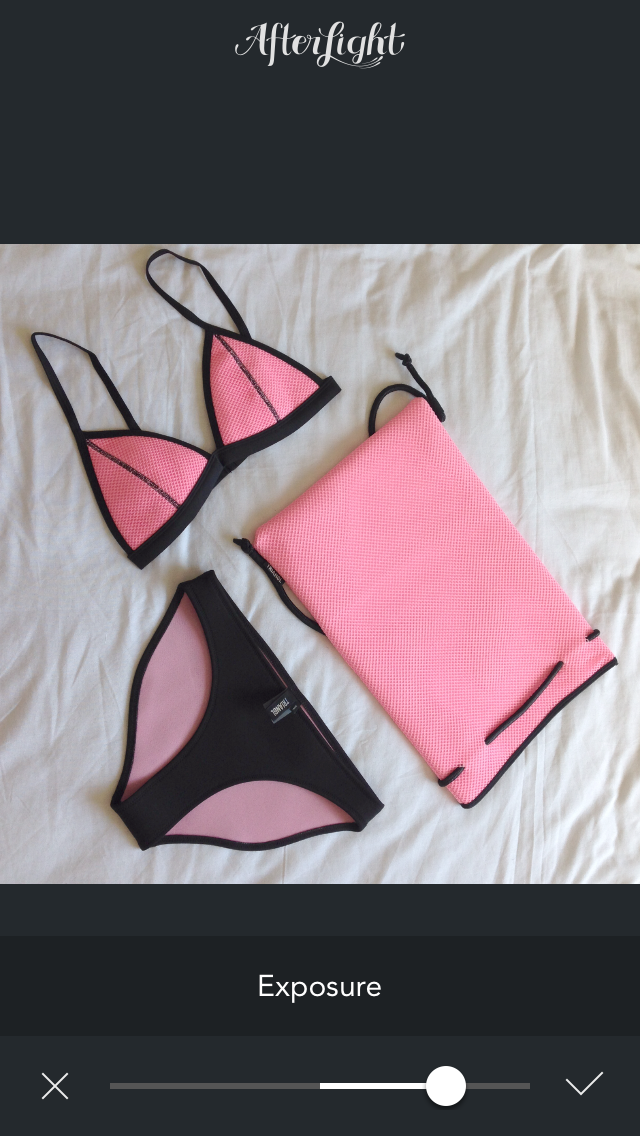
Step 3- Select the second icon from the left along the bottom which looks like the 3 sliders, then select the Exposure icon which is a half white, half black square with a + and a - on. Slide this up until the photo looks just about right brightness-wise, you can see the difference below
Step 4- Next is the brightness step, you may only need to adjust this a small amount as the exposure may have done the trick the first time around, but if you want it that little bit lighter then select the sun icon under the same menu as the exposure and slide it to the right (up) until you're happy on how it looks.
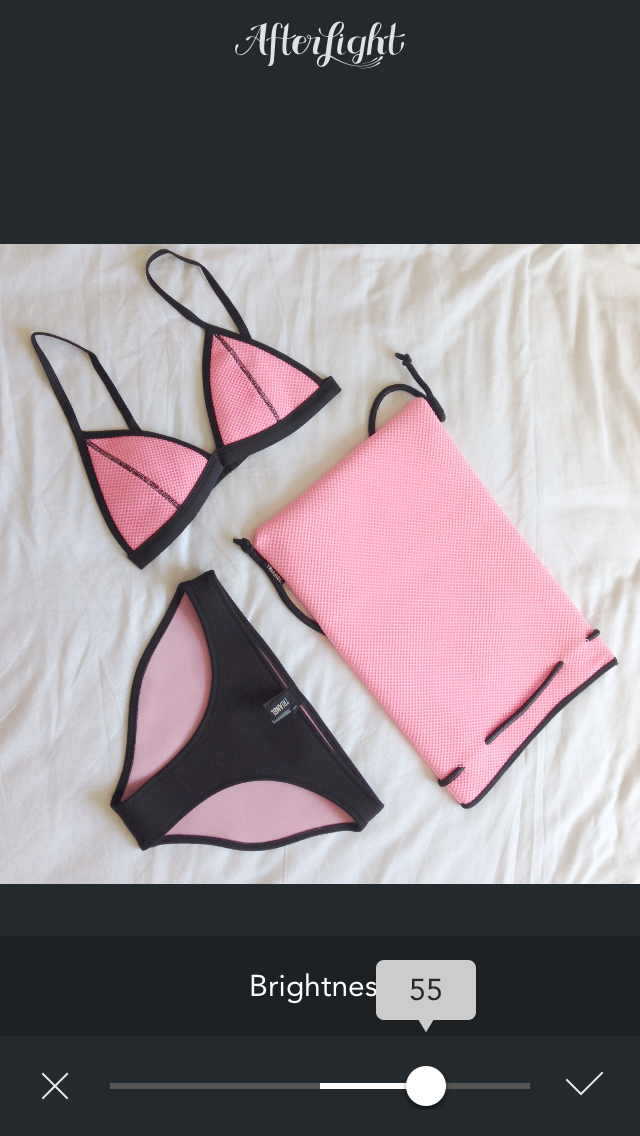
Step 5- Finally, save your image and you will have a lovely brighter looking photo without the sun having to be out! Avoid making it too bright as you lose a lot of detail and nobody wants it looking TOO bright.
.JPG)
--------------------------------------------------------------------
2. Instastitch - FREE
This app will help you achieve several photos in a frame, or also like the mirror image photos that you may have seen me upload.
This app is great for doing so, the ad's get a little annoying on the free version, but I've managed to put up with it for over a year because I begrudge spending money on something just because of a little niggly thing. So its up to you how much you can put up with!
Step 1- Open up the app, and it will look like this...
.PNG)
Step 2- Once you have selected which framing you want to use, it will open up like this for you to add the photos, click on the + to add your photos in each segment. To get rid of the white border, I hate these, just click shape at the bottom, and slide the top slider all the way to the left so they dissapear.
.PNG)
Step 3- If you want the mirror image effect, select one of the sides (they will both be the same photo in each segment obviously) and click edit, this menu will then come up when you click 'orientation' select the flip horizontal button (the far right) and it will flip the image for you.
.PNG)
Step 4- Here is the final image after flipping, this is the way in which I achieve the mirror look on photos which is a great fix for having portrait photos and you don't either want a white border around the edges (it looks neater when someone flicks through your feed- this is what I personally think, I've seen some lovely feeds with photos with borders too ( you can use the framing in Afterlight for borders).
.PNG)
Here is the final image ready to upload!
.JPG)
--------------------------------------------------------------------
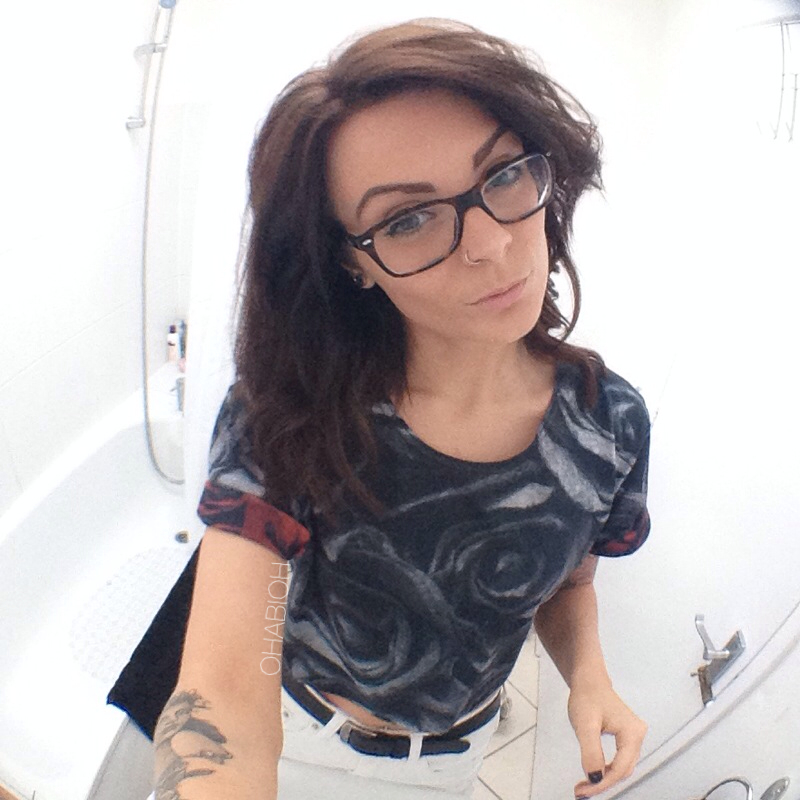
3) Fisheye Lens - eBay £3.96
This little gem is great fun, if you can't afford an expensive camera but want to achieve the fisheye lens look, this is perfect- especially for those of you on a budget! It cost a whopping.... £3.96 (I know its so cheap!) and you simply clip it over your phone/ipad camera, and it turns it into a fisheye lens! I'll add some photos below of what it looks like on/off and what some of the photos look like that you can create yourself.
.JPG)
.JPG)
.JPG)
.JPG)
.JPG)
Here are a few photo's that I have taken to show you what the lens looks like, I've cropped the edges off some of them! (you can see on the first photo that you get the circular effect without the cropping, so I tried to crop it as much as I could in the bottom photo!
.jpeg)
A few other apps that I use are PicsArt and Phonto- Picsart is a more creative one, cutting and pasting images together, cropping edges out, adding drawings etc, its one that you really have to figure out yourself by playing around with it so if you would like to have a go, download that too!
Phonto is the app I use to add the watermark's to my photos (to prevent as many people as possible from stealing my photos to make catfish style accounts, its happened before and I really try to prevent it happening again, I don't want to be in the newspaper again as Zayn Malik's girlfriend, the abuse was unreal- directioners need some chill. But anyway- If you would also like to add your username over your photos, the app is really straightforward so go and download that and you're all set for having fab instagram photos!
I hope this has satisfied your editing needs, hashtag #ohabiohediting if you would like me to see your posts on instagram!
Much love.


2 comments
I want the fisheye lens so bad! I used to have one with the sticky backs but the adhesive just doesn't work after a while.
ReplyDelete☯ROUGH & TOUGH☯ | I`m on Bloglovin!
Hello! :) I nominated you for the Liebster Award the other day (sorry it has taken me so long to say so!)
ReplyDeleteI have posted it on http://sophielaurensblog.blogspot.co.uk/2014/08/the-liebster-award.html
Love this post by the way! :) x